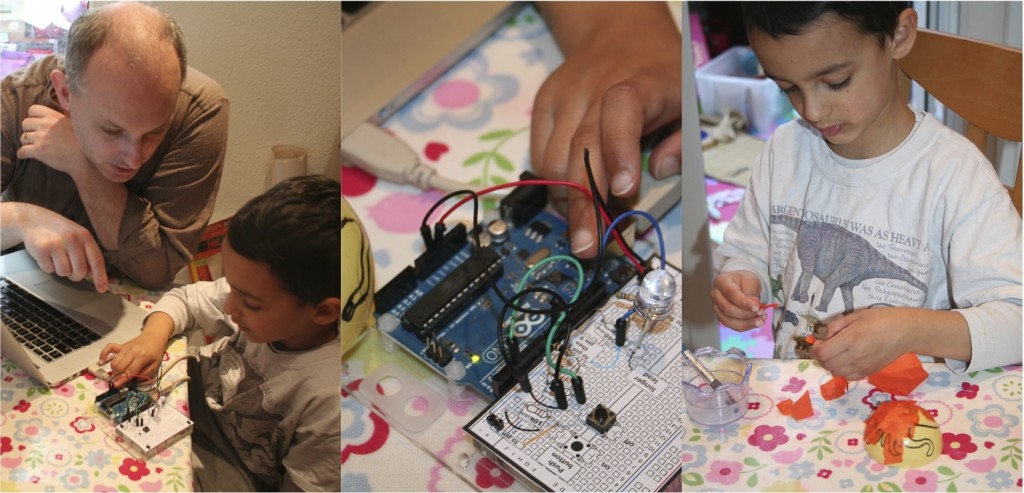
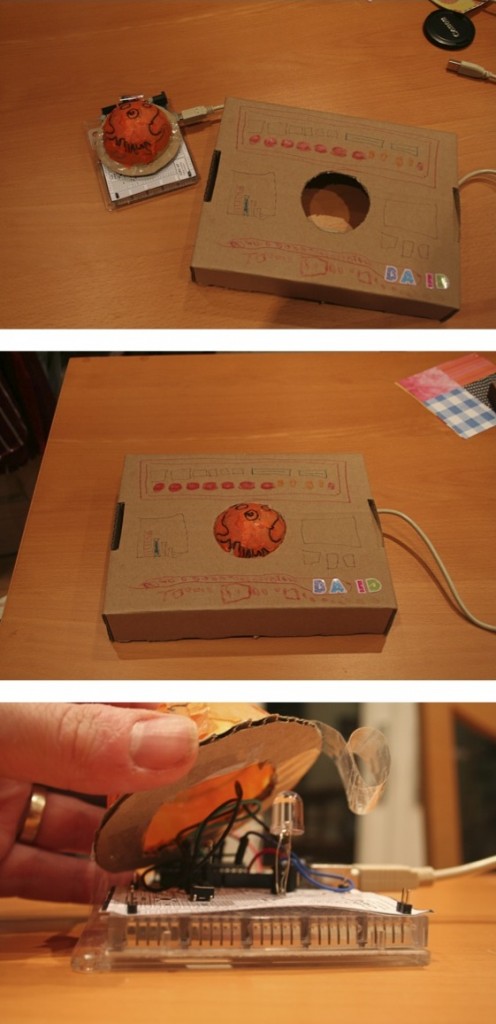
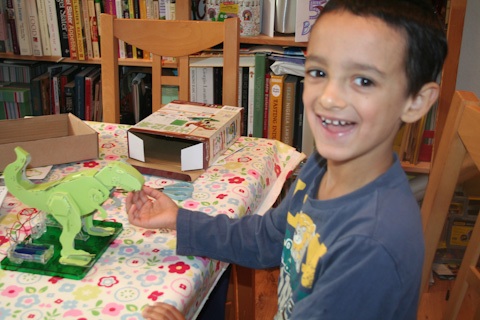
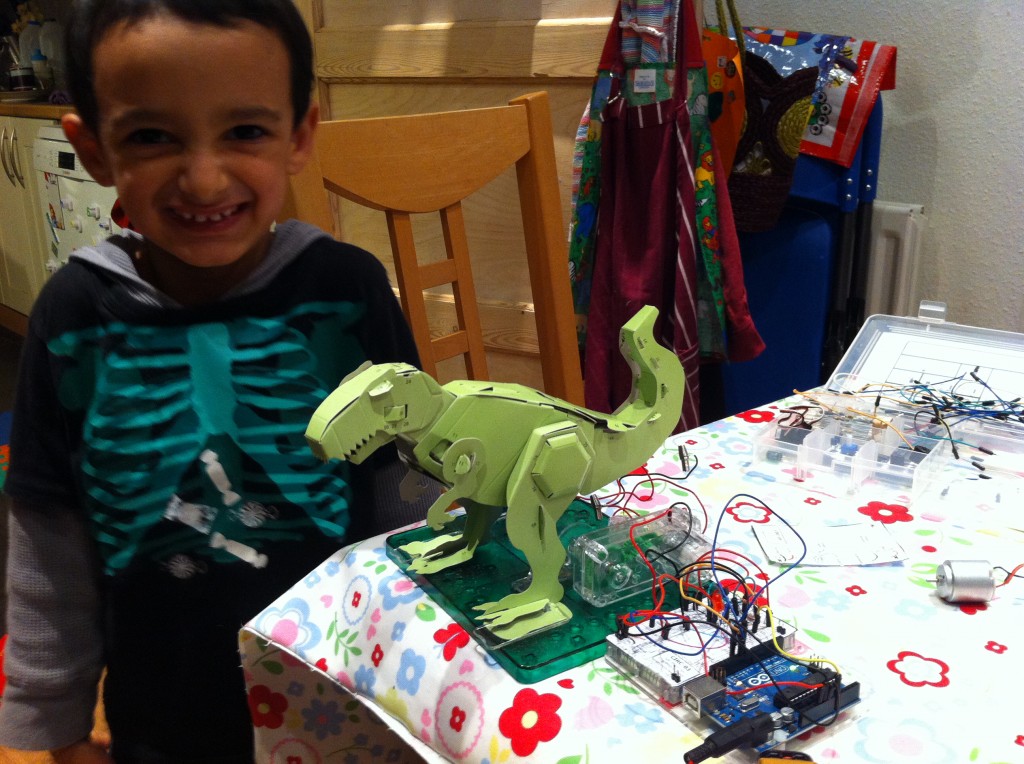
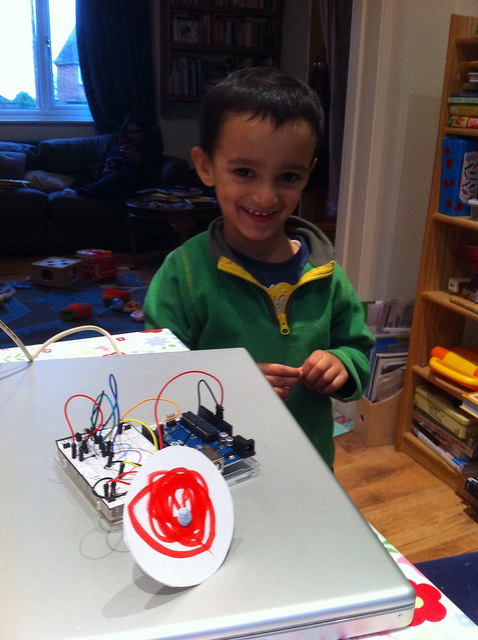
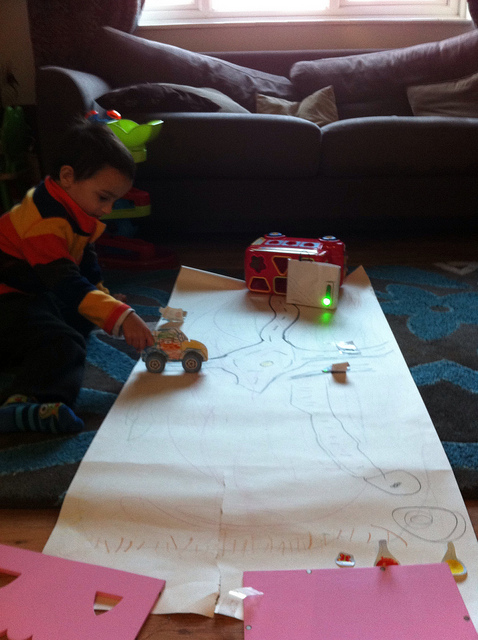
“Dad, can we play Arduino this morning?” asked 4 year old Bryn at the weekend – music to the ears of a geek parent 🙂 We had such a pleasant hour building and using a temperature sensor I thought I ought to blog it, and also another project we did quite a while back getting the Arduino to play sounds. (see also my previous post on the first two projects we did)
Music Maker
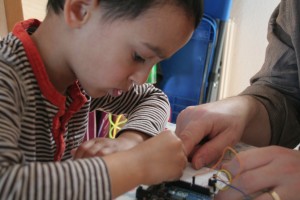
This was a project we did a while ago. Again we were playing with the Arduino at Bryn’s request, and he asked if we could make some sounds. I knew there was a piezo speaker in the starter kit we had, so I looked up the example circuit that used it, and found it played “Twinkle, Twinkle Little Star” (or Twinkle Twinkle Traffic Light for those of you with similarly aged children).
We worked together to wire up the circuit, and then I downloaded the program (http://www.arduino.cc/en/Tutorial/Melody) and we loaded it onto the Arduino. Uploading the program to the board is one of the easiest things for Bryn to do on the computer side – just clicking an icon to compile and upload the program. The nice thing about this is that it emphasises the connection between the program on the computer and the behaviour of the circuit.
This worked fine, but wasn’t quite what Bryn wanted – he said he wanted to push a button to make music. Since this required me to get my head round wiring up and programming a button – which I’d not done before – I went for the simplest thing I could think of, and set up a button so it would play a random note from a C major scale (within an octave range). I was pretty happy to get this working.
But Bryn was still not happy – he wanted several buttons, each one to play a different note – essentially he wanted to build an electronic piano 🙂 After some more work we got there – 3 push buttons, each playing a different note (I only had 3 buttons in the kit, so we couldn’t do anymore). Bryn was very happy with this.
We had a lot of fun, but it was harder to get Bryn engaged on the programming side with this one. The transformation of frequencies into specific notes clearly makes it difficult to relate the program to simple notes, and ‘melody’ code isn’t the most elegant in the world. But it was nice that Bryn had a clear idea in his head of what he wanted it to do, and we worked towards getting it working together.
Temperature sensor
This was the most recent project, following Bryn’s request at the weekend. Unlike with the music project, Bryn didn’t have any particular idea this time round, but I was inspired both by the fact it was shaping up to be a warm day, and the fact the Arduino starter kit has a temperature sensor in it. Even before started the build, this gave us a chance to talk about temperature and thermometers – of course thermometers are pretty familiar ground to a young child, and since our daughter had been ill recently Bryn had seen the thermometer in action quite a few times.
We built the basic circuit – actually one of the simplest so far and Bryn was able to put wires in at my direction, only needing my help with the temperature sensor itself, and with a few wires on the occasions when they didn’t slip into the breadboard without a bit of a push.
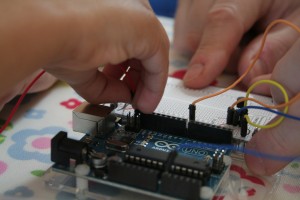
Once we had it wired up, I showed Bryn the output on the computer screen – this was the temperature in celsius being taken at frequent intervals. Bryn was able to read the numbers on screen. We measured the temperature in our dining area, where we did the build, and then moved into the conservatory. We could see the numbers go up which gave a chance to talk about “higher” and “lower” and how the numbers were higher because it was (noticeably) warmer.
Then we went on a measuring spree – outside (cooler); fridge (cooler but not by much); Freezer (took a while but went below zero). With the freezer we had to wait quite a while watching the numbers go down and down before it got below zero – but Bryn seemed to enjoy every minute of it. While we waited we talked about the ‘scale’ and I explained how 100 was for boiling water and 0 was for freezing.
Then more measuring upstairs, finding the warmest bedroom (ours!).
Although there wasn’t much to change in the program, I showed Bryn how there was a number in the program that told the Arduino which analogue pin the sensor was connected to. We then moved the wire to another pin, he could read the number from the board (with a bit of help) and type the new number into the program, and upload it to the Arduino so the new configuration worked.
It was a great project, and lots of good stuff to share and learn. In an ideal world I would have liked to design a better way of displaying the temperature on the computer in advance – something colour coded, with large digits reflecting an average reading. However, Bryn seemed relatively comfortable just reading the number from the serial port monitor!
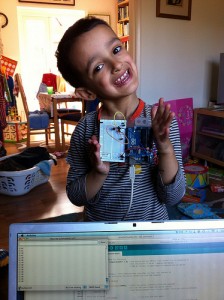
We covered a large number of things:
- What is temperature
- Reading numbers on the celsius scale
- Boiling and Freezing points
- Updating a program when you update a circuit
- The link between the circuit and the program
Pretty amazing for a Saturday morning

